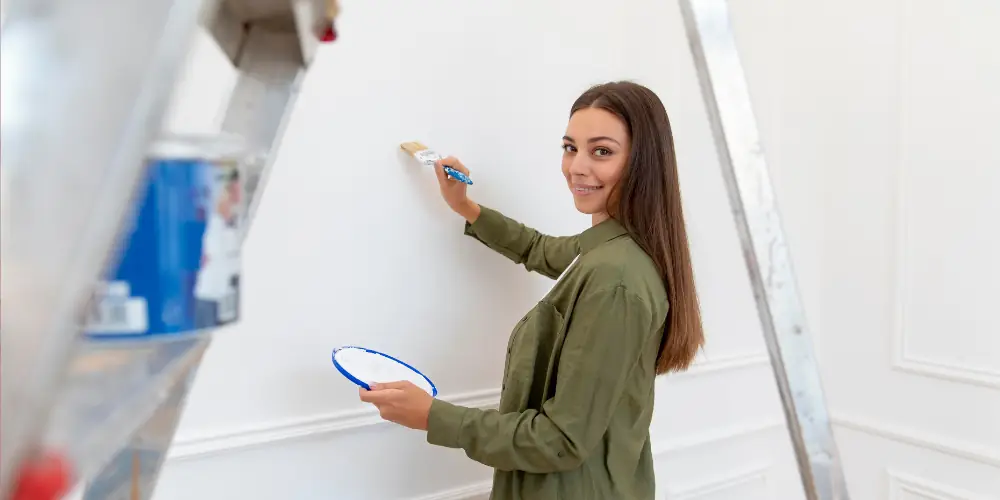
Tackling a painting project often stretches beyond a single session. Whether refreshing a room or giving furniture a new look, interruptions are common—running errands, waiting for drying time, or just taking a break. One of the biggest headaches? Cleaning brushes every time you pause. The effort to wash, dry, and store your tools can quickly drain enthusiasm and slow progress.
But what if there was a simple trick to pause painting without the usual cleanup? This approach keeps your brush ready to pick up exactly where you left off, saving time and effort. It’s not about complicated hacks but a straightforward, practical method that anyone can use.
The Plastic Bag Method
Instead of scrubbing brushes after every break, wrap your brush in a plastic bag or cling wrap. This seals in moisture and prevents the paint from drying out on the bristles. The idea is to trap a layer of paint around the brush, acting as a protective barrier.

DIY expert Ashley Poskin shares insights from her experience: “Keeping the brush wrapped in plastic holds the paint wet longer, letting you pause your project without cleaning. I’ve tried leaving brushes wrapped both at room temperature and in the fridge—both work well for short breaks. If you’re stepping away overnight, cooler storage is best.”
Steps to Using the Plastic Bag Hack
1. Don’t wipe off excess paint – Instead of cleaning the brush before storing, leave a generous amount of paint on it. This layer prevents drying and acts like a seal.
2. Wrap the brush tightly – Use a plastic bag or cling wrap and secure it snugly around the bristles to keep air out.
3. Choose a cool spot for storage – For breaks longer than a few hours, store the wrapped brush in the refrigerator. Shorter pauses can be fine at room temperature if out of direct sunlight.
4. Seal the bag completely – Make sure no air gets in to avoid drying or crusting.
This method cuts out the need for constant washing and drying. When ready to paint again, just unwrap and continue without fuss.
Why This Hack Works
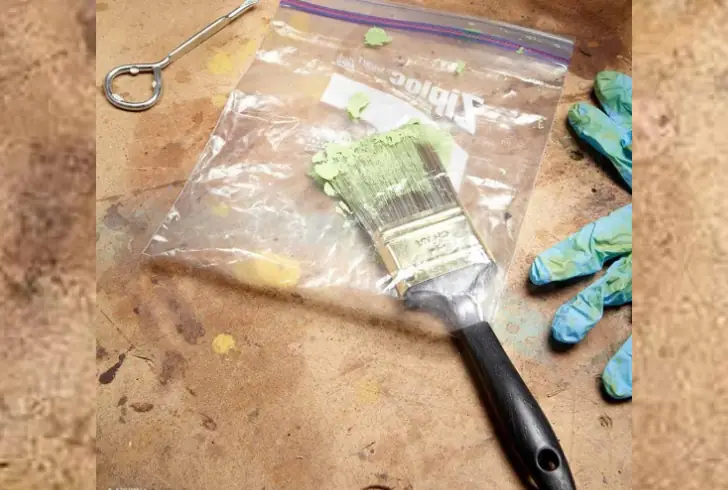
The key is that the paint left on the brush stays wet inside the sealed bag. If the brush dries, it becomes stiff and hard to use. The plastic wrapping traps moisture, maintaining the brush’s flexibility and preserving paint quality. This means you avoid wasting paint or damaging your tools between painting sessions.
Ashley points out a common mistake: “Many wipe the paint off before storing the brush, which dries it out faster. Leaving the paint on and wrapping it properly keeps it fresh.”
Practical Benefits of the Plastic Bag Technique
– Saves time spent on cleaning brushes mid-project
– Reduces paint waste since you keep the paint moist on the brush
– Simplifies project pauses, so stopping and starting is hassle-free
– Keeps brushes in better condition by preventing dried paint buildup
For anyone tackling a paint project, this simple trick helps keep things moving without the hassle of constant cleanup.
Wrapping your brush in a plastic bag maintains moisture, so you can pause and pick up right where you left off—whether it’s a quick weekend refresh or a multi-day job.
It’s a small shift that saves time, paint, and frustration. Try it on your next project to see just how much smoother the process can be.